Building the Kits and Parts 10 watt linear
part 3 - installing the capacitors, the inductors and semiconductors
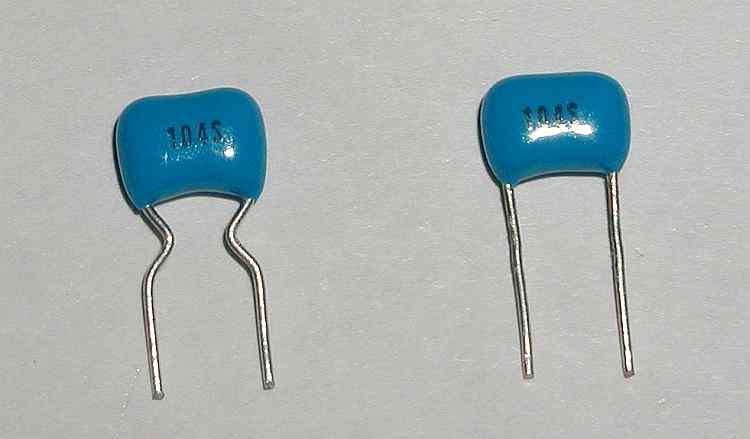
Next step was to install all of the capacitors. This was easy. The only added task was to straighten the leads on the blue capacitors. They came supplied as on the left and the one on the right is the ready-to-be-installed capacitor.
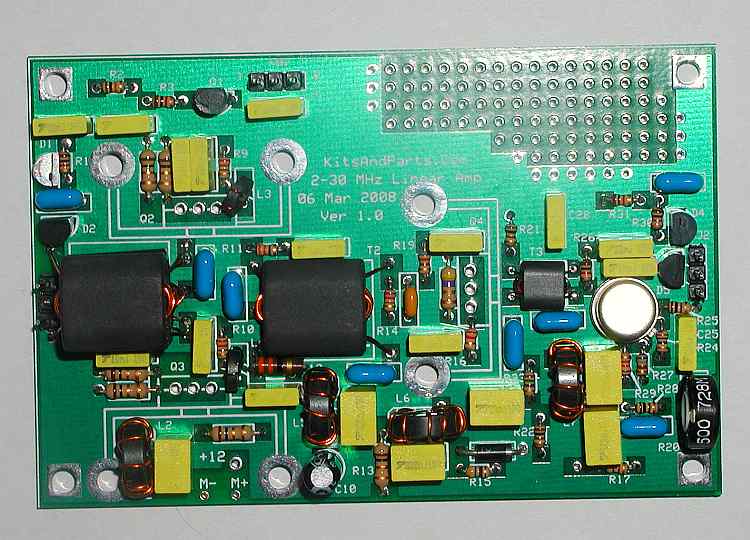
When I was done, the board looked like this.

Most of the holes are now full of leads and solder. It won't be long now. The next step was to install the inductors and all of the transistors except the one's on the heatsinks. Q5 was to be elevated .1" from the board. I had a plastic transistor spacer so under Q5 it went. Perfect! I added pin connectors for the inputs and outputs. This was a good time to deflux the board so outside I went with the spray can of flux remover and a can of spray air to dry it off with. Here's the end result!
The next and final step, mounting the transistors on the heatsinks, soldering them in, and then test.
I would strongly reccomend that you do not install the finals, Q2 and Q3, on the board at this time! I would reccomend that you skip ahead to the testing phase and test all of the previous stages and insure that they work before installing the finals. They are extremely difficult to remove once installed.
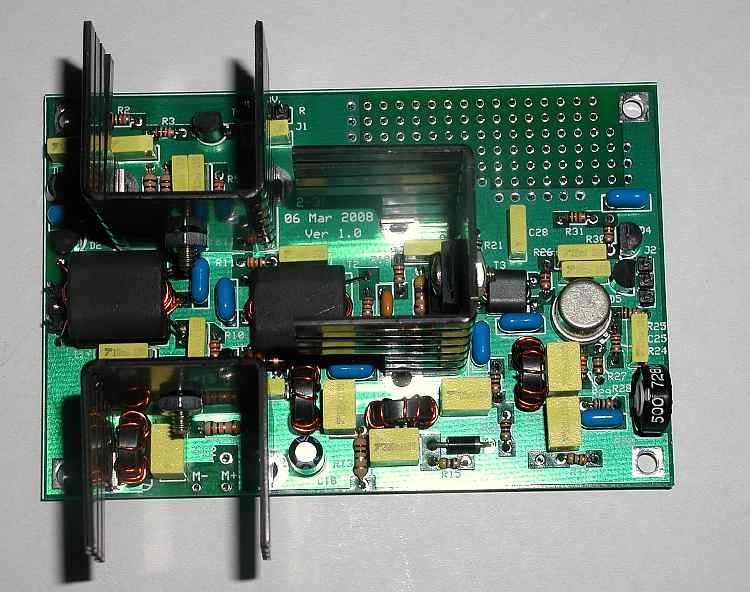
Assembly completed. Next step, test!